How to Make a Polystyrene Sculpture
Polystyrene sculptures might not sound like the most useful or versatile thing in the world on the face of it, but there are plenty of uses for polystyrene sculptures and we’ve seen just about all of them over the last 35+ years. We’ve often seen them used as prototypes for cast sculptures that eventually take form in bronze or steel. We see them used to scale props up into multi-storey entities used for filming AAA hollywood features, and more recently to create faithful renditions of a characters armour for cosplayers.
No matter what the use of a polystyrene sculpture is, the same measured steps that ensure an excellent final product usually take place. This step-by-step article takes a quick look at them below.
Step 1.
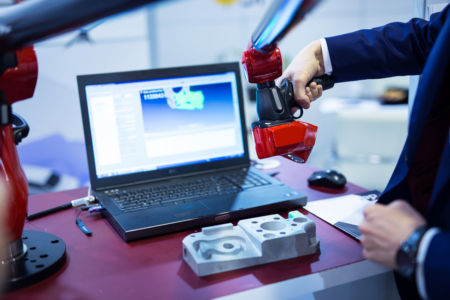
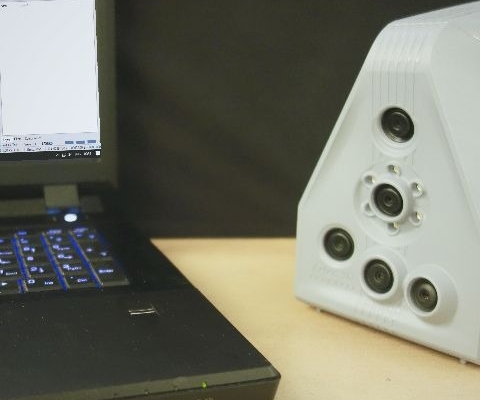
Creation of a 3D model - the prototype’s prototype. This can be done in a number of ways, one way is to 3D scan an existing object (such as a maquette) using sophisticated 3D Laser Scanning tools. Another way is to create the object in modelling software, such as Solidworks or 3D Studio Max. We can create models, or use existing files that our clients bring to us.
Step 2.
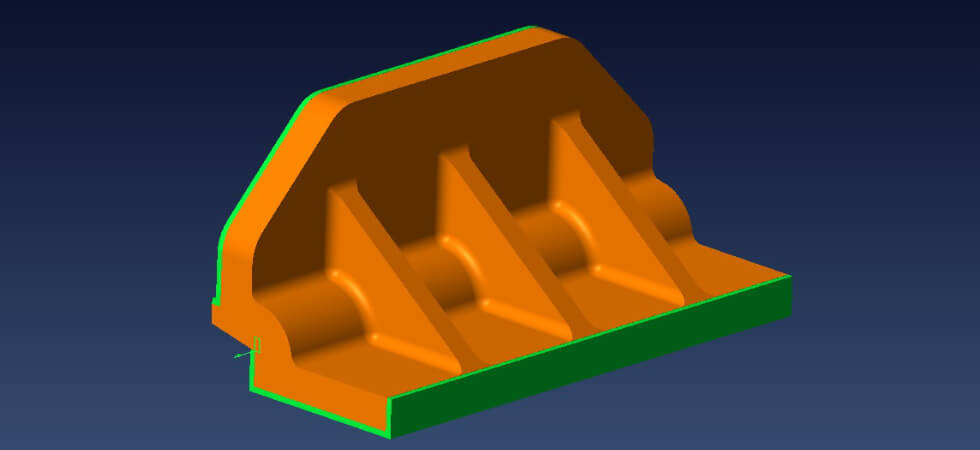
We then need to process the 3D model, this involves splitting the model into virtual pieces that will fit on our CNC machines. We also take the opportunity to create ‘splits’ that give us the best access to details, such as undercuts or areas that are very tight like armpits etc.
Step 3.
Each split then has to be exported from our CAD modelling software into separate CAM software. A CNC programmer then creates and writes the CNC strategy (also known as a tool path) for each split. A CNC strategy is a guide telling the computer exactly where to mill, drill, or cut the material. This very technical process often takes longer than the actual machining of the part, this is due to the complexity of the process. Often parts will require a large amount of strategies or paths, due to the large amounts of detail. Getting this stage right is the difference between an efficiently made sculpture, or something that spends more time on the machine than it should and a less-than-perfect end result.
Step 4.
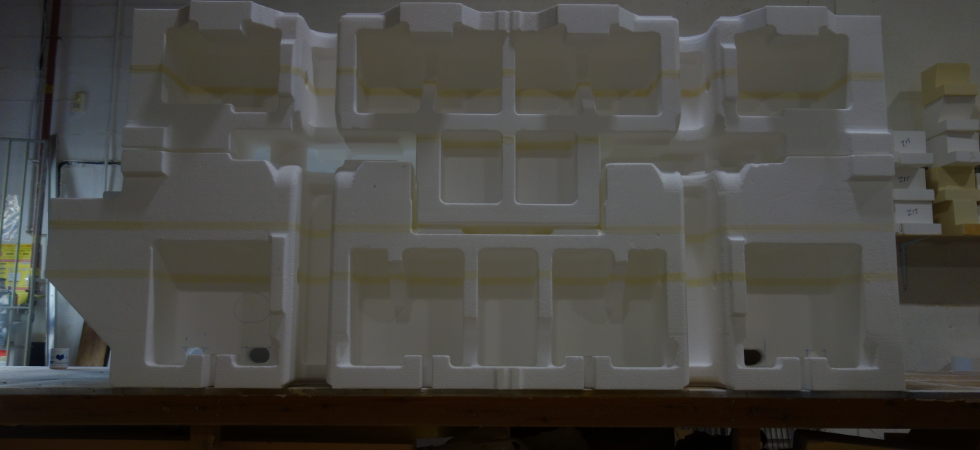
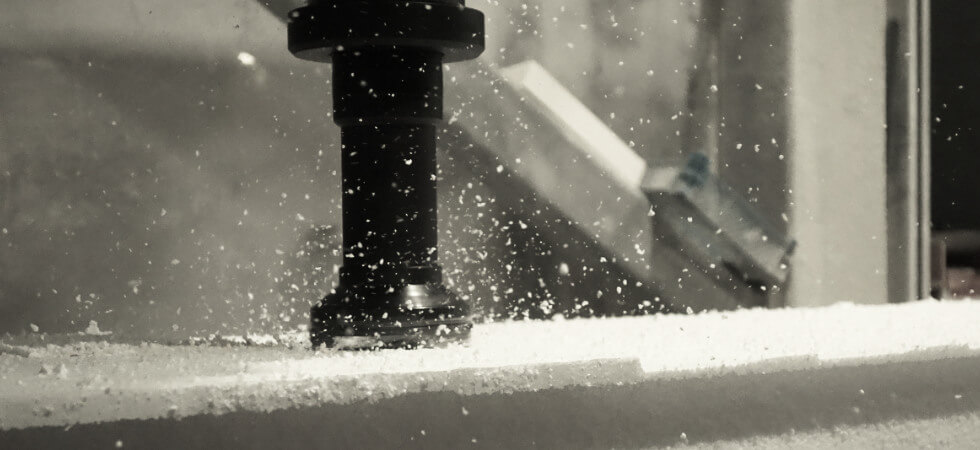
Once the splits are all prepared and have programs for the CNC machine, the workshop team then prepares the raw material (in this case polystyrene of course). This involves cutting the polystyrene general profile to help reduce waste on the CNC machines, and saving time on the strategies. Each split is then loaded onto the CNC machine and removed after the cutting program has been run, sometimes this can take over 20 hours just for 1 small piece of a model!
Step 5.
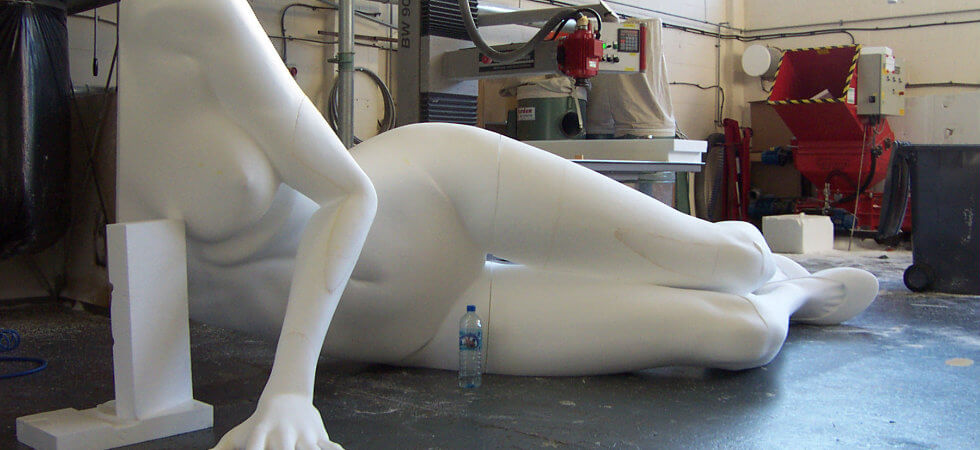
The final step is to assemble the now completed parts, sometimes they will be fully assembled, or sometimes only partly depending on how large the sculpture is and what the mode of transport is. This step is where we can add finer detail by one of our in-house art technicians if necessary, before we hand the finished product over to the artist. This is where processes like fibreglass and primer paints can be added if required.